
In this tutorial, we’ll learn how to create an abstract acrylic painting step by step. The goal isn’t to perfectly copy a model, but to understand the logic behind constructing an abstract painting: the background, textures, contrasts, main shapes, and then the finishing touches.
This type of exercise is ideal for learning to let go while maintaining a coherent composition. Because yes, in abstract painting, you can be free… but you can’t just run wild either 😄
Materials Needed
To make this painting, you’ll need:
- a canvas or a board covered with canvas,
- acrylic paint,
- a few wide brushes,
- a painting knife or a spatula,
- possibly a roll or a plastic card,
- a cloth or paper towel,
- a little water.

Step 1: Prepare the canvas
Before you begin, lay your canvas flat or set it up on an easel. Prepare your paints in advance so you don’t have to stop and look for your tubes in the middle of painting.
In this first step, the idea is simply to lay the groundwork. We’re not yet aiming for the final painting. We’re just setting the stage.
You can start with a light or neutral color, which you apply quickly to a section of the canvas.

Step 2: Apply the first broad strokes
Start by applying the first large areas of color. At this stage, don’t worry about the details.
The goal is to position the major visual elements:
- a lighter area,
- a darker area,
- a more colorful area,
- possibly a primary direction.
These initial shapes will determine the overall composition of the painting.

Use a wide brush or a palette knife. The broader your strokes, the more energy the painting will have.
Step 3: Create Movement
Once the initial colors have been applied, we begin to create movement in the composition.
You can pull the paint with the palette knife, rub certain areas, stretch the colors, or make them overlap slightly.
The idea is to avoid a background that’s too flat.

At this point, don’t worry if the painting looks messy. That’s normal. An abstract painting often goes through a somewhat chaotic phase before finding its balance.
Step 4: Add Contrast
The painting is starting to take shape, but it needs some contrast.
You can add:
- a darker color,
- a brighter color,
- touches of white,
- areas with more texture.
Contrast allows the eye to move across the painting. Without contrast, the painting may appear flat or monotonous.

Be careful, though, not to use high contrast everywhere. You need to leave some calm areas so the eye has room to breathe.
Step 5: Work on the layers
One of the keys to a successful abstract painting is layering.
Add a new layer on top of the previous one, but without covering everything. Some traces should remain visible.
That’s what gives the painting its depth.
You can lightly scrape the fresh paint with the knife to reveal the layers underneath. This creates interesting effects and gives a sense of texture.
Step 6: Organize the composition
At this point, we need to take a step back.
Look at your painting as a whole.
Ask yourself a few questions:
- Where does the gaze go?
- Is there one area that’s more important than the others?
- Is the painting too cluttered?
- Is there a lack of direction?
- Is there enough contrast?
This is often where we begin to organize the composition. We emphasize certain areas and tone down others.
Step 7: Create a point of interest
Even in an abstract painting, it’s important to have a focal point.
This item can be created using:
- a more intense color,
- a stark contrast,
- a clearer shape,
- a distinctive texture,
- an accumulation of details.

The point of interest doesn’t have to be in the center. In fact, it’s often more interesting when it’s slightly off-center.
Step 8: Soothe certain areas
A common mistake is trying to add effects everywhere.
But a good abstract painting needs breathing room.
So sometimes you need to tone down certain areas with a softer, lighter, or more uniform color.

This helps highlight the strongest parts of the painting.
In abstract painting, what is removed or covered up is sometimes just as important as what is added.

Step 9: Add the details
Once the overall composition works, you can move on to the details.
Now is the time to add:
- a few lines,
- small splashes of color,
- knife marks,
- light splashes,
- texture effects.

Note: Details should enhance the picture. They should not make it confusing.
It’s better to have a few well-placed details than too many little effects scattered everywhere.
Step 10: Check the final balance
Before you finish, take a step back one last time.
See if the table works:
- up close,
- from a distance,
- in both directions,
- in a different light.
If an area stands out too much, you can tone it down.
If an area looks empty, you can add a small detail.
But be careful not to overdo it.
Step 11: Knowing When to Stop
This is probably the hardest part.
When a painting starts to come together, you often feel like continuing. But sometimes, one too many changes can upset the balance.

If the table contains:
- a good composition,
- interesting contrasts,
- breathing zones,
- a point of interest,
- an overall harmony,
So maybe it’s time to put down the paintbrushes.
Conclusion

This demonstration shows that an abstract painting is not created at random.
Even though the movement remains free, the painting progresses in stages:
- lay a foundation,
- create the major forms,
- add some movement,
- enhance the contrasts,
- layer them on top of each other,
- organize the composition,
- create a point of interest,
- soothe certain areas,
- add details,
- check the balance,
- knowing when to stop.
Abstract painting is a balance between spontaneity and reflection. You have to accept accidents, but also learn to organize them.
And above all: don’t judge your painting too soon. Very often, it becomes interesting after going through a phase that’s downright questionable 😄
Mes dernières créations
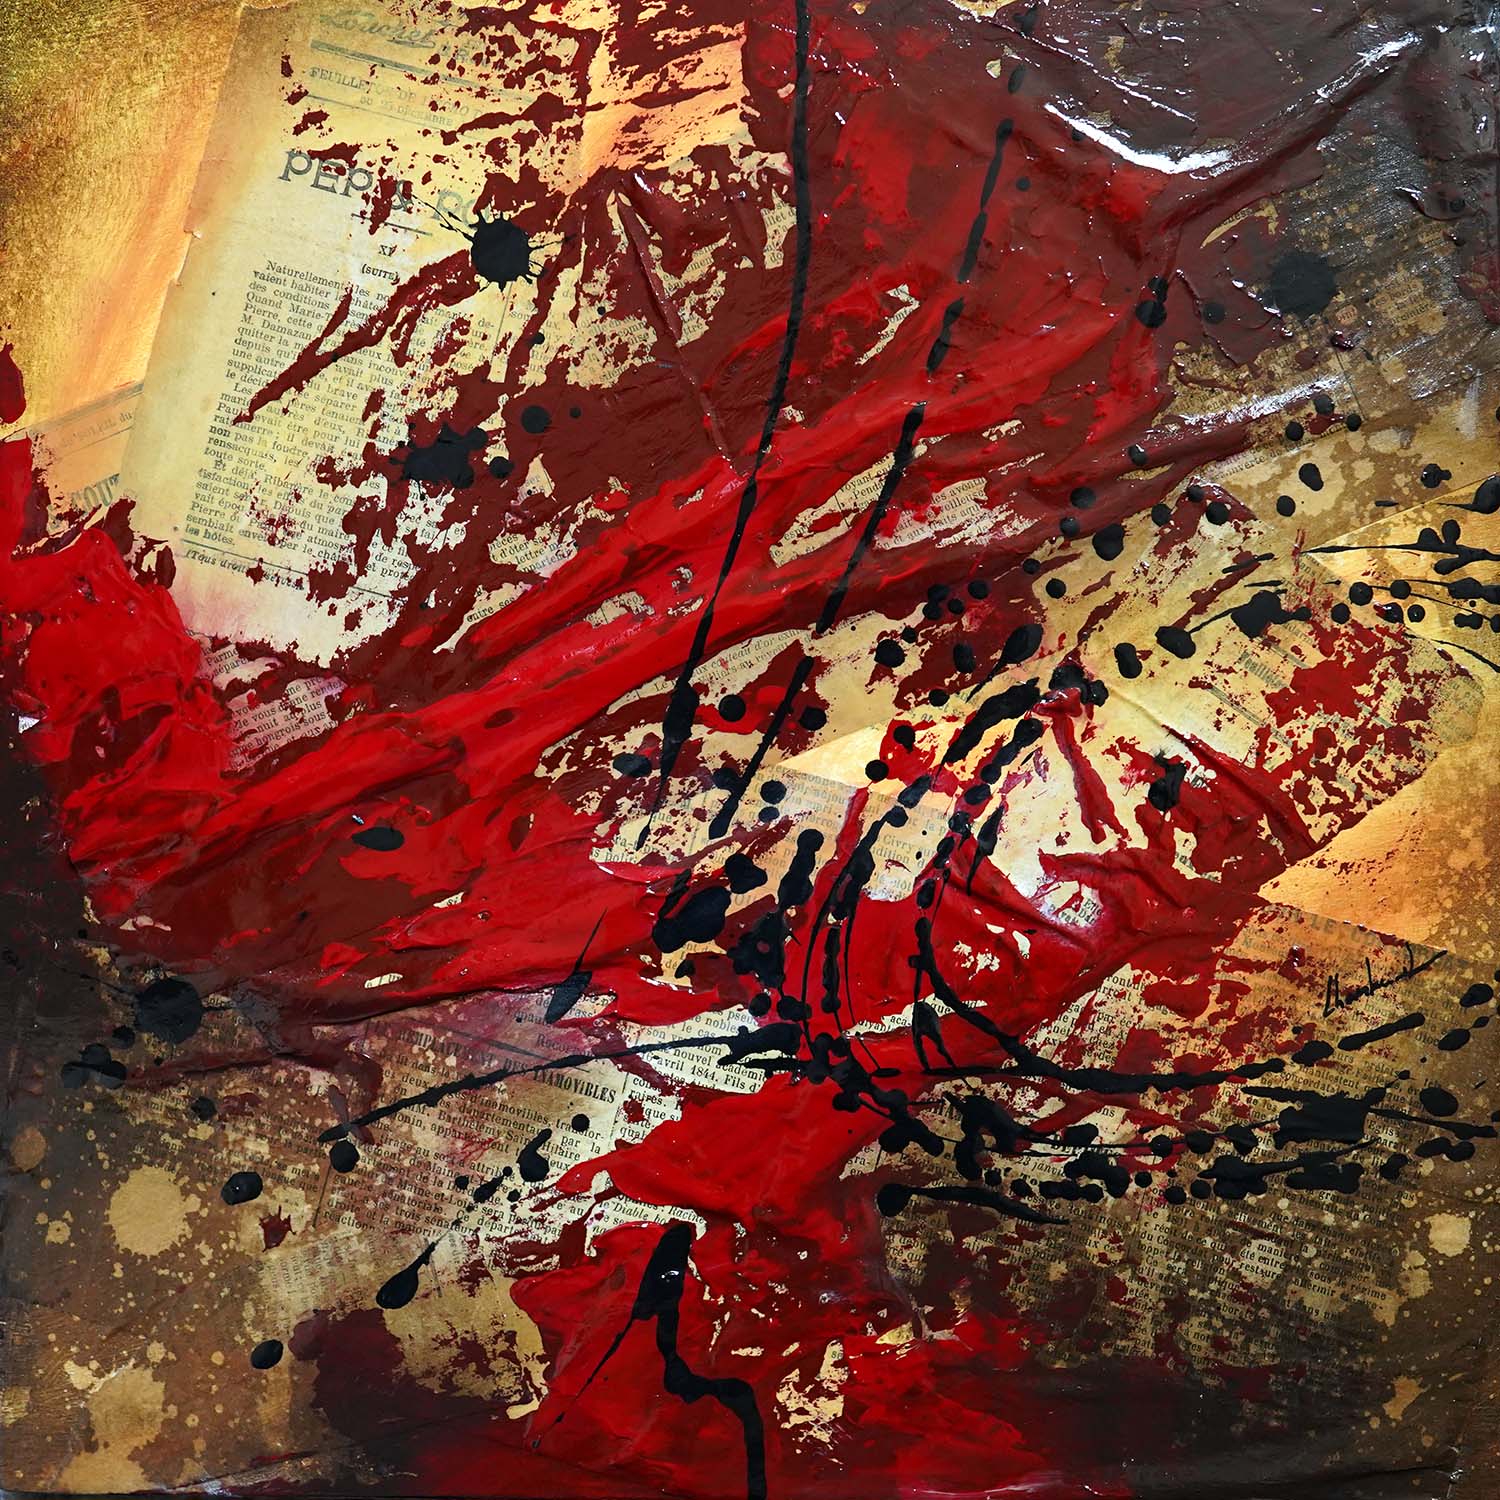
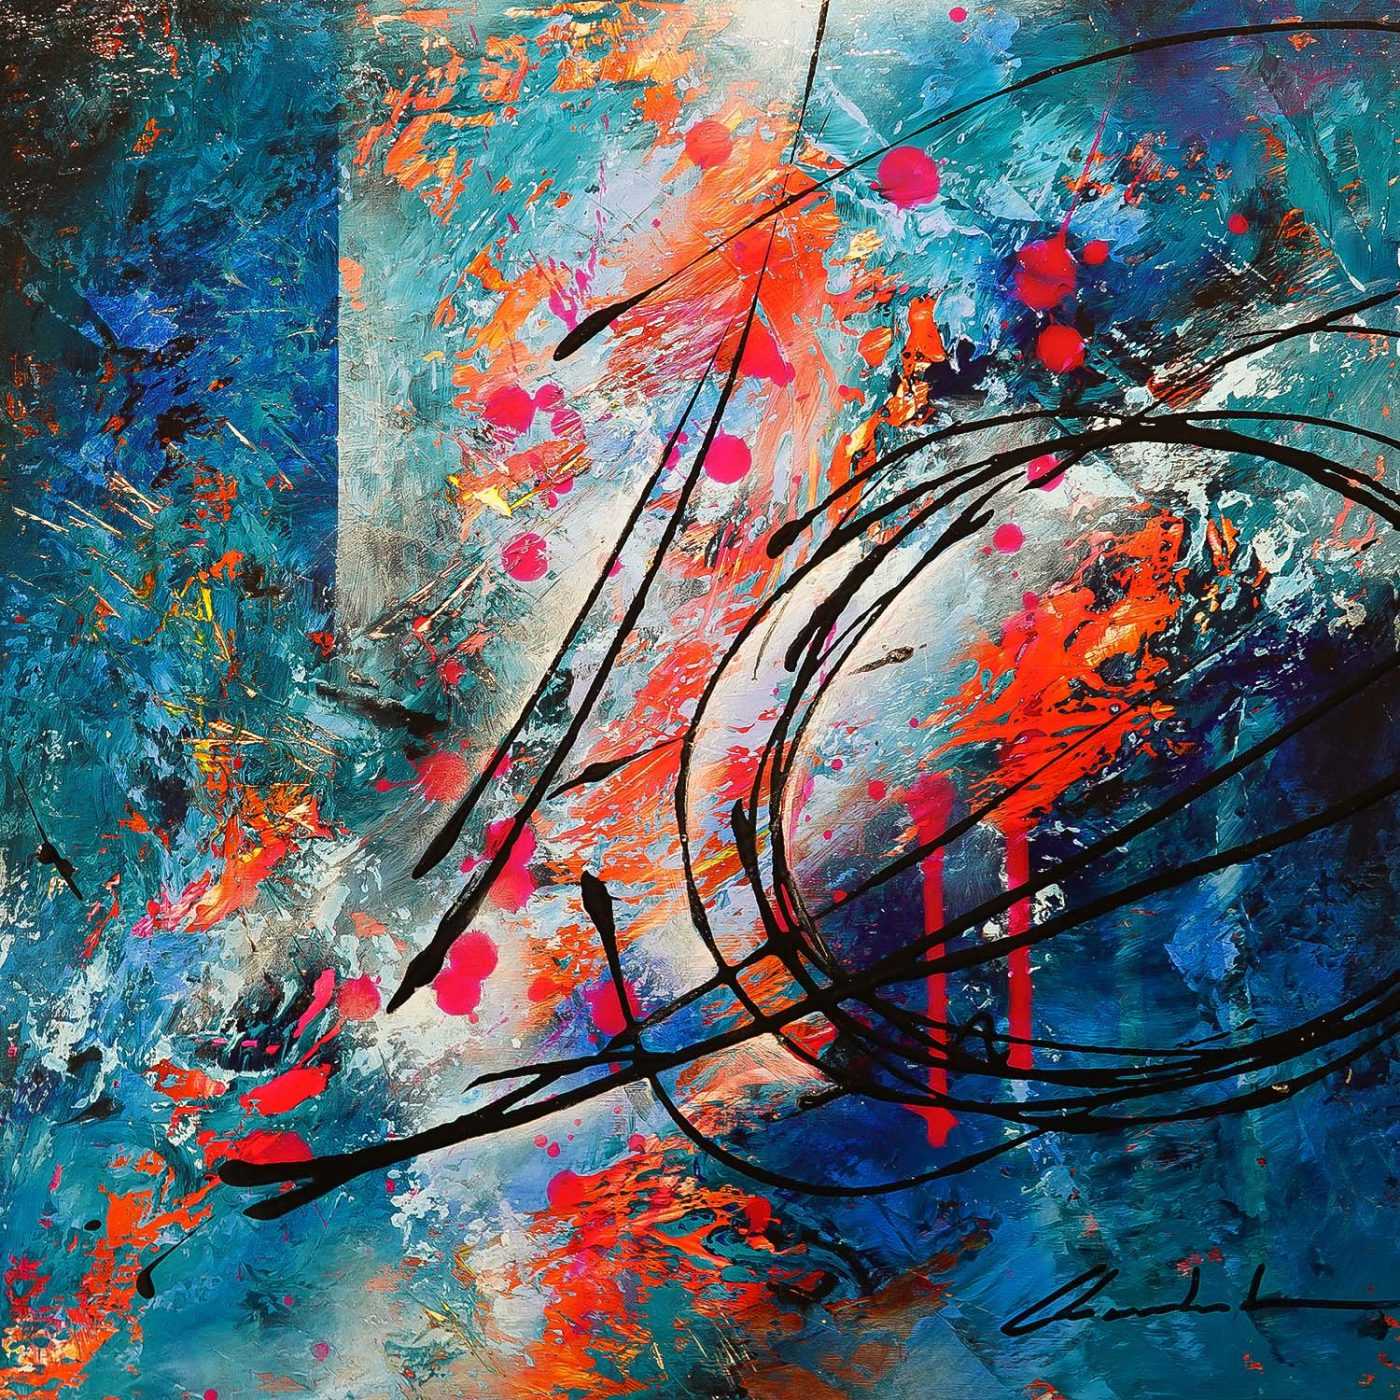
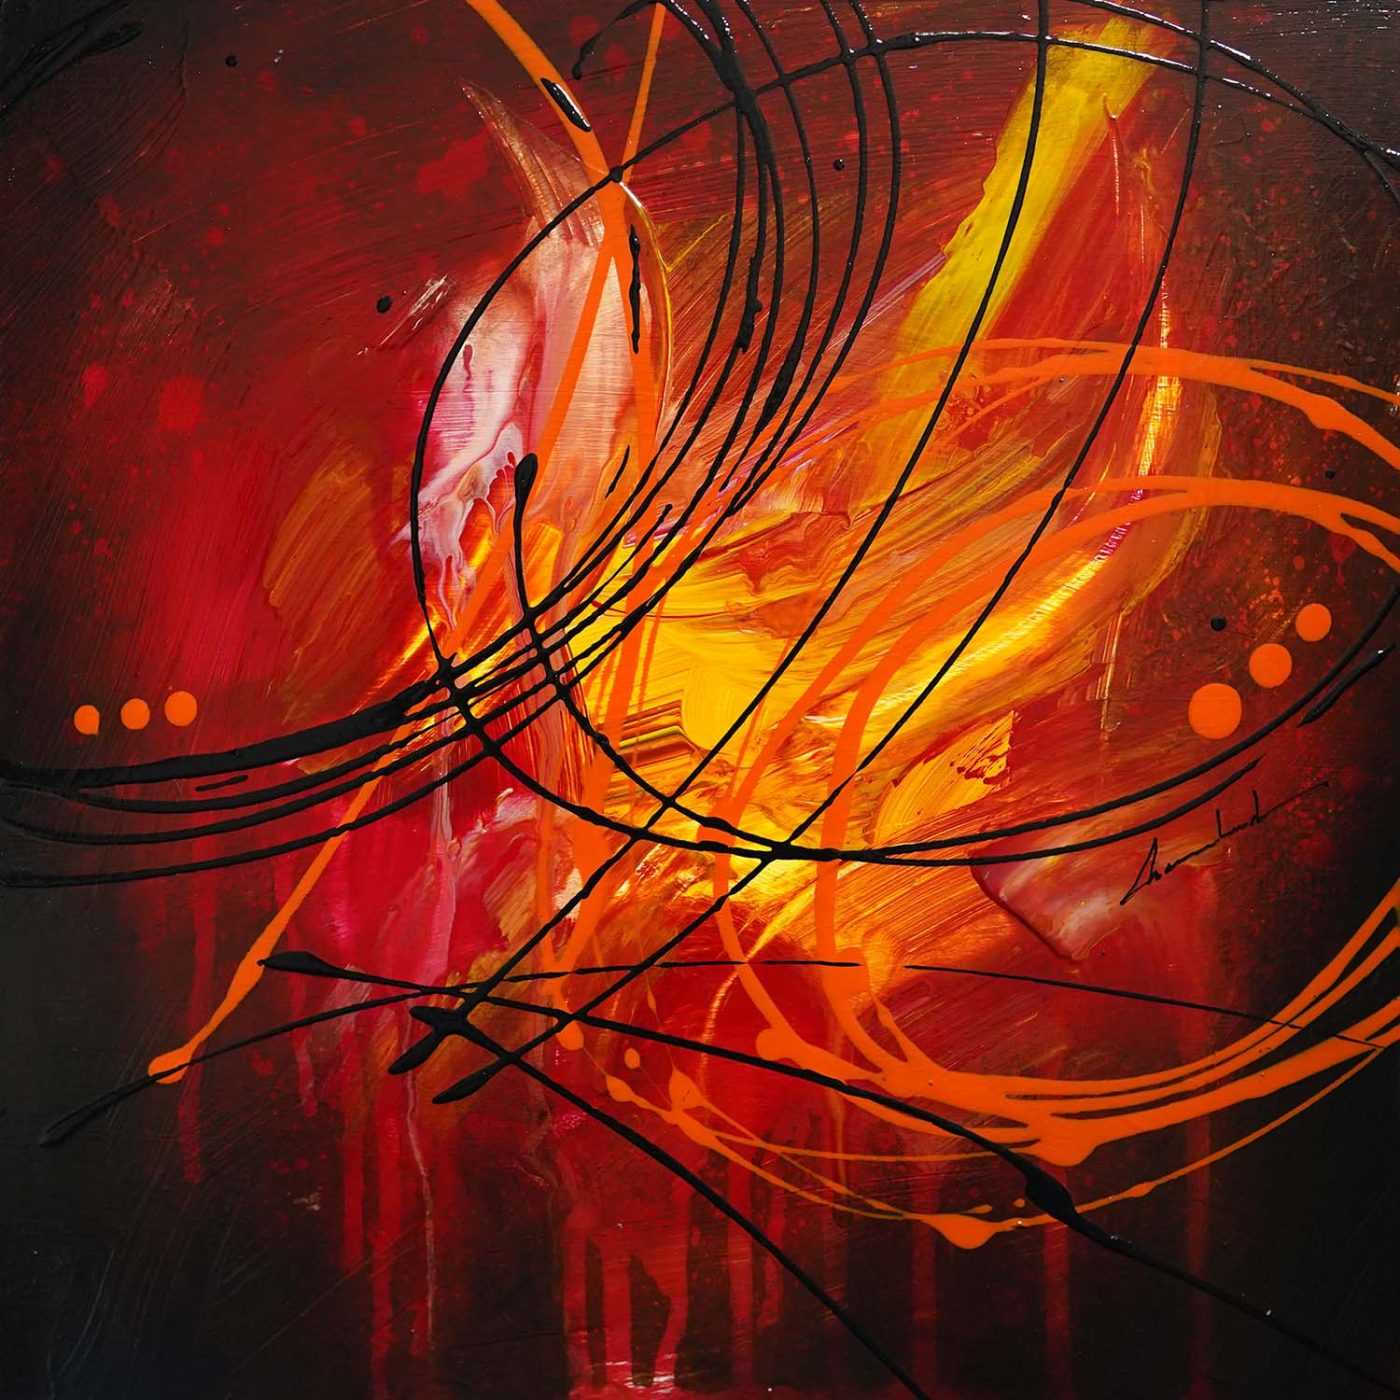
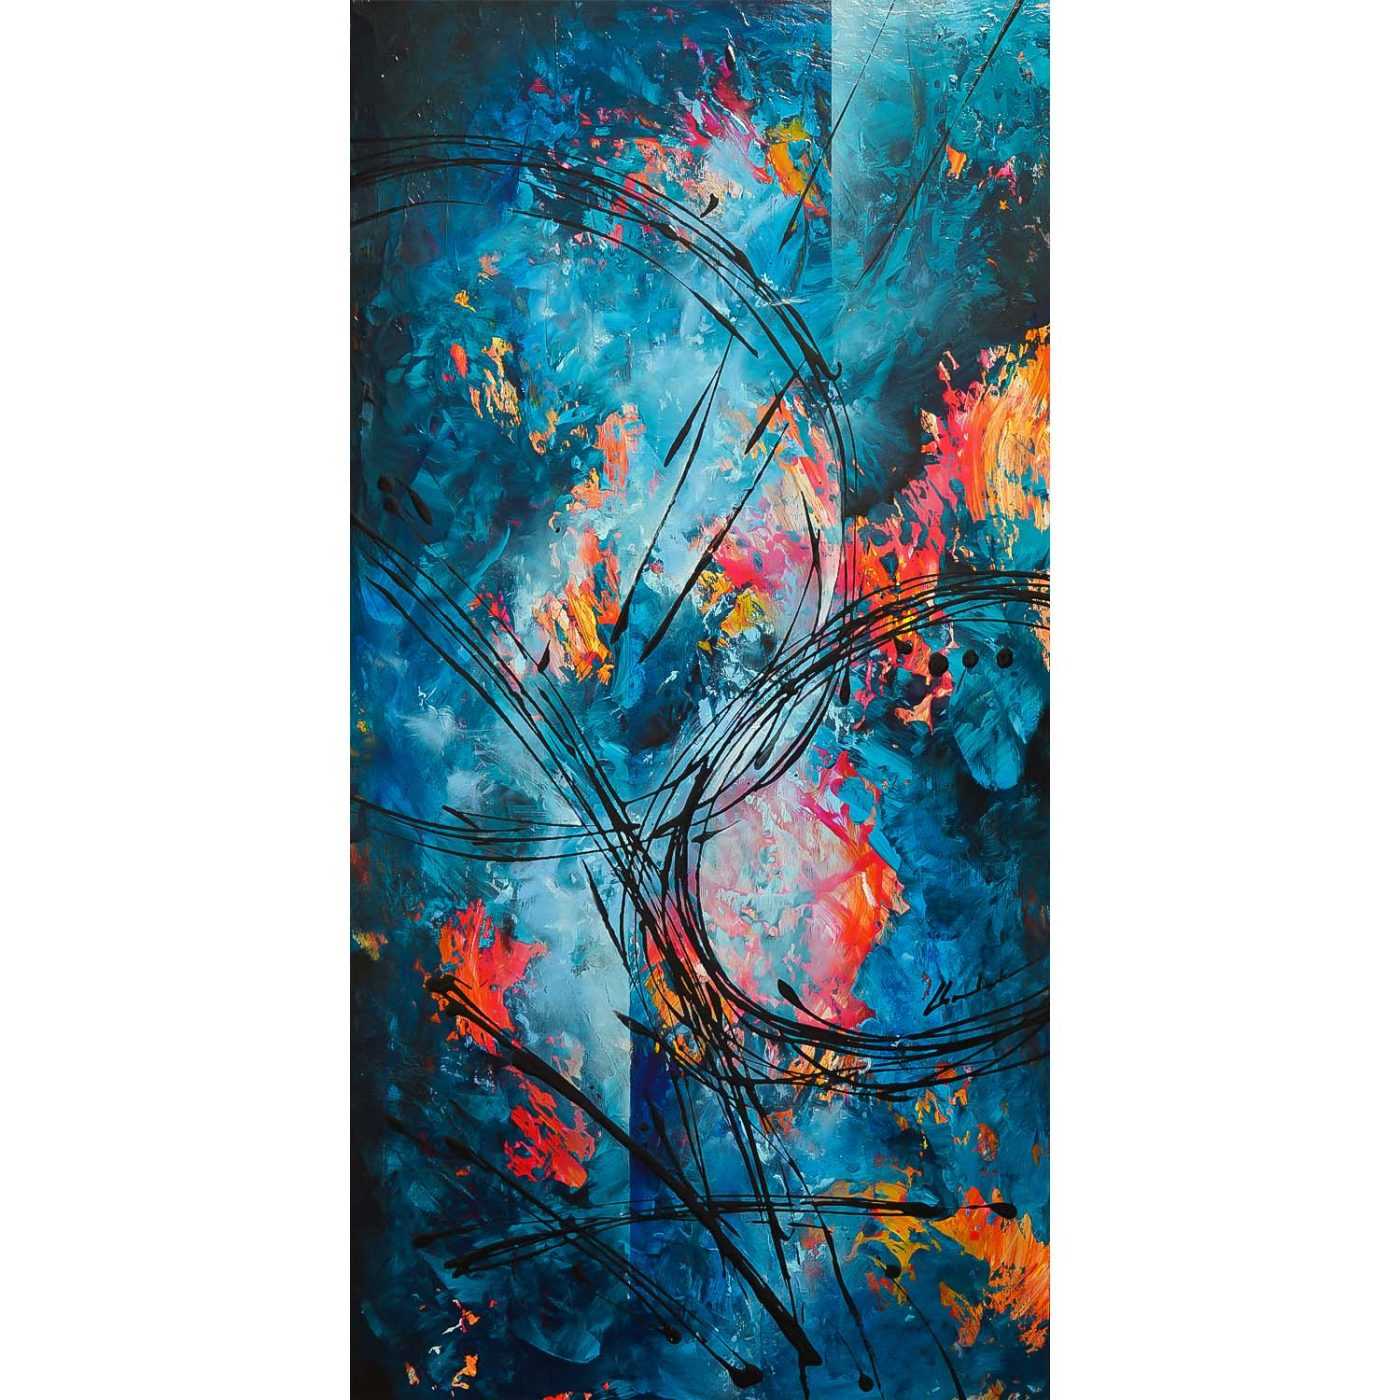
Découvrez mes derniers tableaux abstraits disponibles.







Leave a Reply