
Knowing how to make gradients is practically indispensable for acrylic painting.
Before continuing, I invite you to discover my previous article on how to make a gradient easily with two colors.
Today, I’d like to take things a step further, and show you in a short tutorial how to create gradients with three or more colors.
What is a gradient?
In painting, a gradient is a method of gradually moving from one hue/color to another.
The aim is to ensure that there are no sharp transitions or demarcations between colors.

Tip: Use chromatically similar colors
Before I even get into the technicalities, I’ll give you a tip on how to choose the right colors for your gradients.
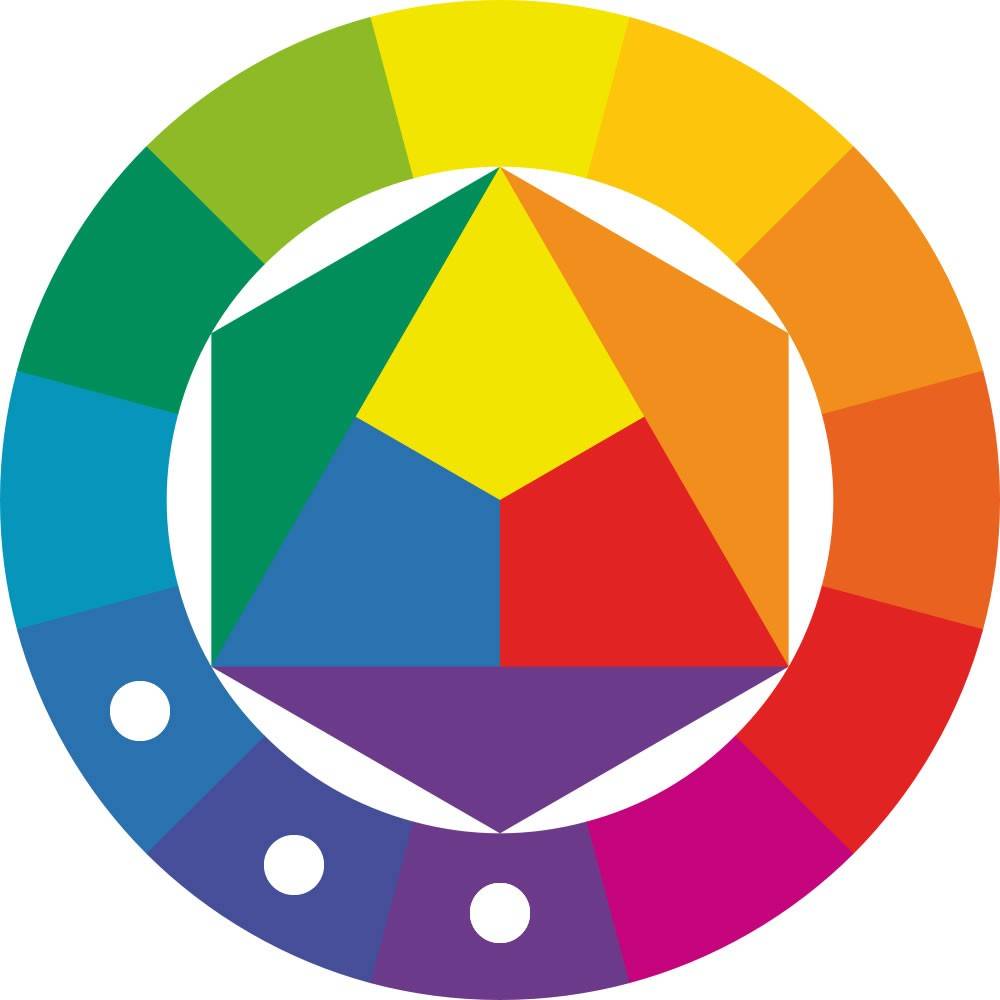
To simplify the mixing of colors, I recommend choosing colors that are chromatically close to each other.
To do this, refer to the color wheel below and choose two or more colors that are close to each other.
How to make the gradient
Before starting your gradient
Before we begin, there are several important points to consider:
- Acrylic paint dries quickly, so you need to be reactive and prepare your colors well beforehand.
- You need to dilute your paint with water or another thinner.
- Your brush should be lightly washed between paint applications so as not to alter the new shades applied.
Step 1: Preparing the colors
Once you’ve made your color choices on your color wheel, you’ll prepare your different colors on a palette.
In my case, I use violet, ultramarine blue, sky blue and white to soften the end of my gradient.
Also prepare a container of water to moisten your paint as you apply it.

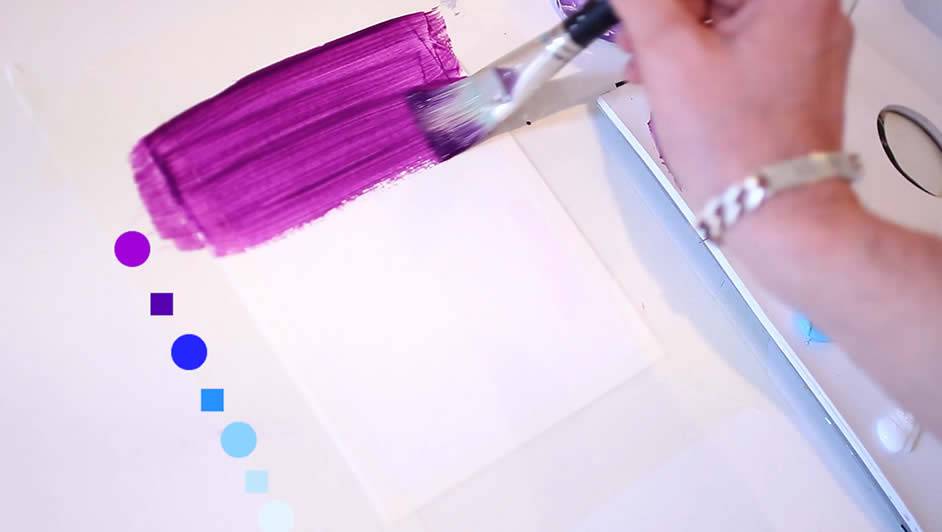
Step 2: Applying the first gradient color
Dip your brush lightly in the water and mix with the violet. It’s important to use water to ensure fluidity and effective blending between shades. This is one of the main components of a successful gradient.
Apply your paint in a linear fashion, i.e. from left to right. It is important to maintain this movement from the beginning to the end of the gradient.
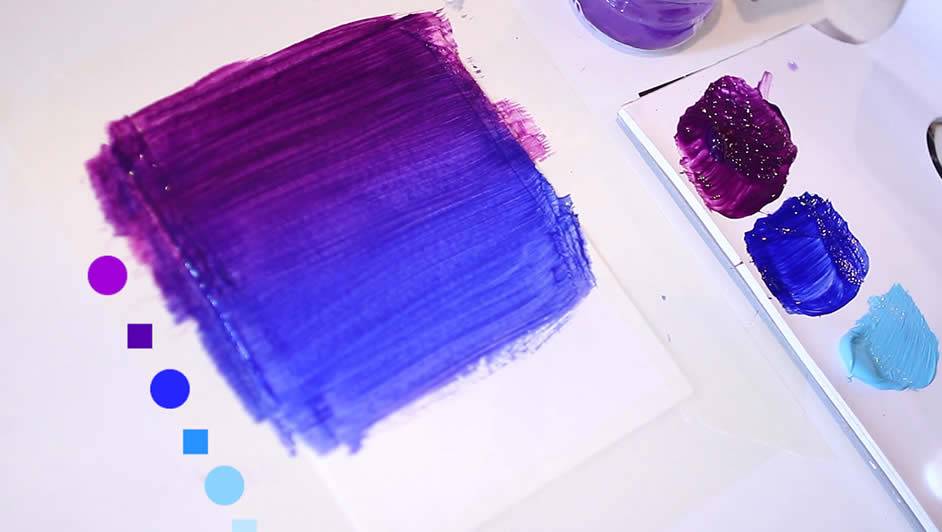
Step 3: Second color, first mix
Here, you’ll do the same as in the previous step, but with your second color. In my case, I use ultramarine blue.
Below the violet, I apply my paint evenly and gradually work my way up, while continuing the lateral movements (left/right).
Gradually the color begins to blend, then you can work your way back down. But be careful to do this only once, otherwise you risk completely mixing your shades and messing up your gradient/blend.
Step 3: Gradient, mixing the third shade
You simply repeat the previous operation with your third color and then repeat the operation as many times as you like. However, don’t go too far up so as not to reach the first color applied.
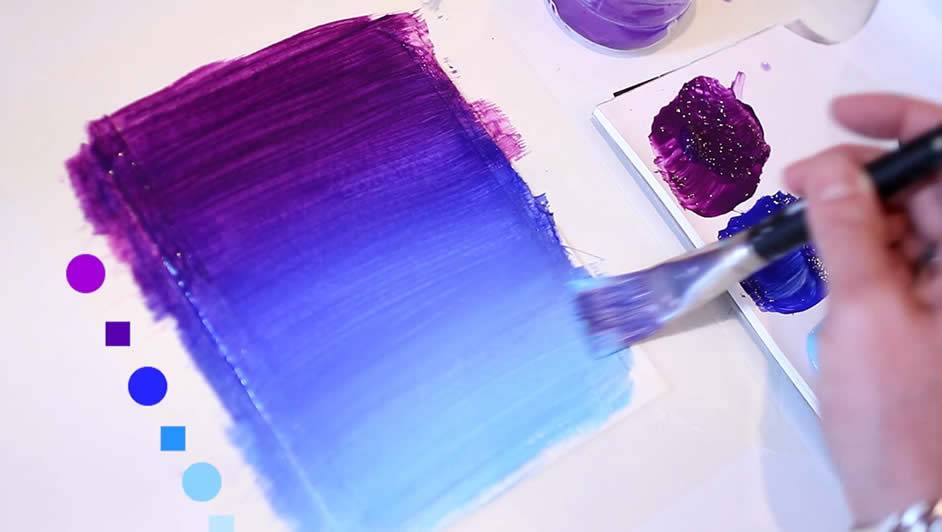
Last step: White paint
In this final step, I apply white at the bottom of my gradient to lighten the gradient’s output.

It’s up to you!
Here’s one of my techniques for creating a simple gradient with acrylic paint. But there are plenty of other methods.
Did you like this article? I’d be delighted to hear from you at the bottom of this page.
Thanks in advance!


Leave a Reply